Step-by-Step Guide: Cut a Hole for Kitchen Sink
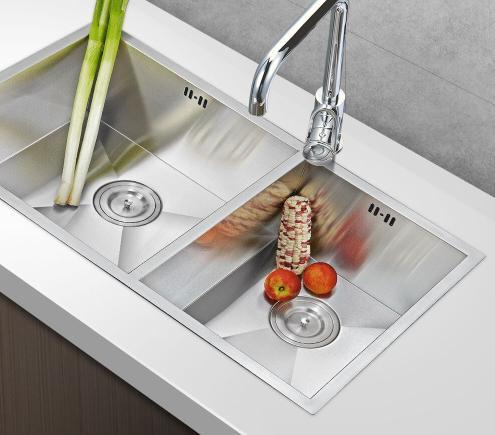
Today, Stainless Steel Sinks are the favorite among homeowners, especially sus 304 stainless steel sink. They present multiple advantages for homeowners, like low maintenance, user-friendly operation, corrosion resistance, and so on.Furthermore, the sink steel price is friendly to customers.
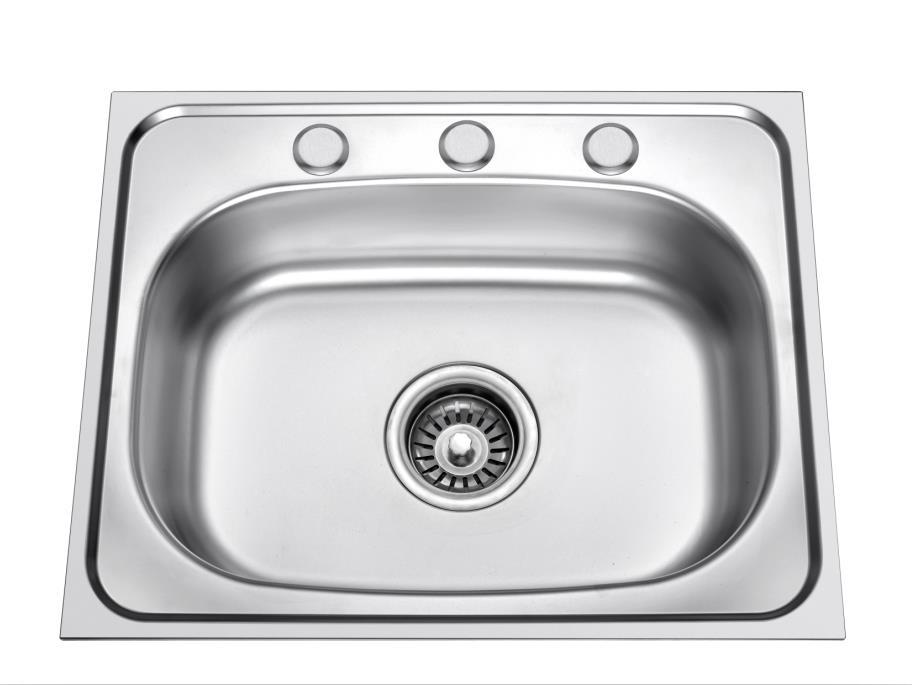
Whenever you try to install a drain into your stainless steel sink, you have to cut a hole on your stainless steel sink, because some 304 stainless steel sinks have not been pre-drill holes.
Whenever you try to install a drain into your stainless steel sink, you have to cut a hole on your stainless steel sink, because some 304 stainless steel sinks have not been pre-drill holes.
However, drilling with precision is a challenging job for most people. It is easy to drill a hole too big or small which can not not be suited for kitchen hardware. Therefore, knowing the right skills and methods to drill the hole could make you don't need to pay much effort to finish the job.
Let’s discuss it in detail!
STEP 1: Preparation
As an old Chinese sayings “good tools are essential things”. Before starting drill a hole, you need to make full preparation. By the way, the good preparation would benefits to the kitchen sink handmade. Here are the tools you need to prepare: safety goggles or glasses, drill, lubricating oil, fine-grain sandpaper, masking tape, nail or another sharp pointed object, marker, measuring stick.
STEP 2: Measure & Mark
Generally, the drain locates in the center of the sink. However, you also could make an off-center drain in your 304 stainless steel sink. Under this situation, you should ensure the sink has enough sloping to efficiently drain away water.
Therefore, you need to measure the distance between the homebase kitchen sinks and the place where you plan to use the fixture. After that, you should mark the accurate spot with the masking tape.
STEP 3: Indentation
The indentation is the most important step in drilling the hole. If you forget to make the indentation, it would make you fail to complete the task. It is because the drill often prefers to skip across the surface of the sink.
A simple indentation could prevent the above problem, which makes sure the dill works in a right place.
To make a perfect indentation, you need to take a nail set and hold them in the marketplace. Then strike on the top of the nails with the help of hammers. If the indentation is not right, you should repeat the above operations.
STEP 4: Lubricate Your Drill Bit
Lubrication is one of the aspects you should pay attention to. Unlike natural materials, metal sinks need a lubrication oil barrier to reduce the heat. But, where the heat comes from? Actually, The drilling into metal materials produces heat and friction.
Furthermore, if your drill bit is metal, it even causes sparks that are dangerous for the operator. Therefore, we should lubricate the drill bit to prevent home hardware kitchen sinks from sparks.
One thing you need to know is that the water on 304 stainless steel sinks tops is useless for lubrication. Only the oil-based lubrication works.
STEP 5: Wear Protective Eyewear
The working process of the drill bit is dangerous for your eyes. The stainless steel sink accessories would form some little pieces of bits, during the cutting process.
You need to ensure you have full and proper protection before drilling the hole. Wearing protective goggles can prevent the tiny bits fall into your eyes.
STEP 6: Start to Drill
Before drilling, you need to choose the proper drill bit which could be fitted in the drilling place. Then place the point of the drill bit on the mark that covers by masking tape. Keep the drill bit at the vertical level and start drilling.
You need to notice that the drill bit should work at a low speed. The low speed ensures that you could observe the working process of the drilling bit, in order to keep the consistency of the drill and prevent over drilling. When it is prone to penetrate the sink surface, you should stop the drilling.
STEP 7: Remove the Sharp Edges & Debris
After completing the drilling job, some follow-up works are waiting for us----removing and finishing. We should remove the the debris and finish the shape edge of the cutting mouth. You need to wear the gloves to sand the hole with an emery cloth.
Conclusion
If you need to cut a hole into your stainless steel sink, you could follow the above procedures to cut a hole. Also, if the sink is too old, you also could purchase an new homebase kitchen sinks.
Then, the new one would free your hands from above crafting works. You also could ask Kitchen Sink Factory get the custom stainless steel sink to suit your kitchen system.


