Steps for Installing 304 Stainless Steel Sink
The kitchen sink is used for rinsing vegetables, washing dishes, and other critical tasks. If your kitchen sink is experiencing hard-to-use problems, such as active leaks, then it may be time to consider replacing it.
The replacement process is relatively simple; learn the steps to install a sink and learn how to install a kitchen sink using the right tools and supplies.
Before starting the installation process, ensure you have all the necessary tools and materials. These may include a jigsaw or hole saw for cutting the countertop, plumber's putty, sealant, wrenches, screwdrivers, and a level.
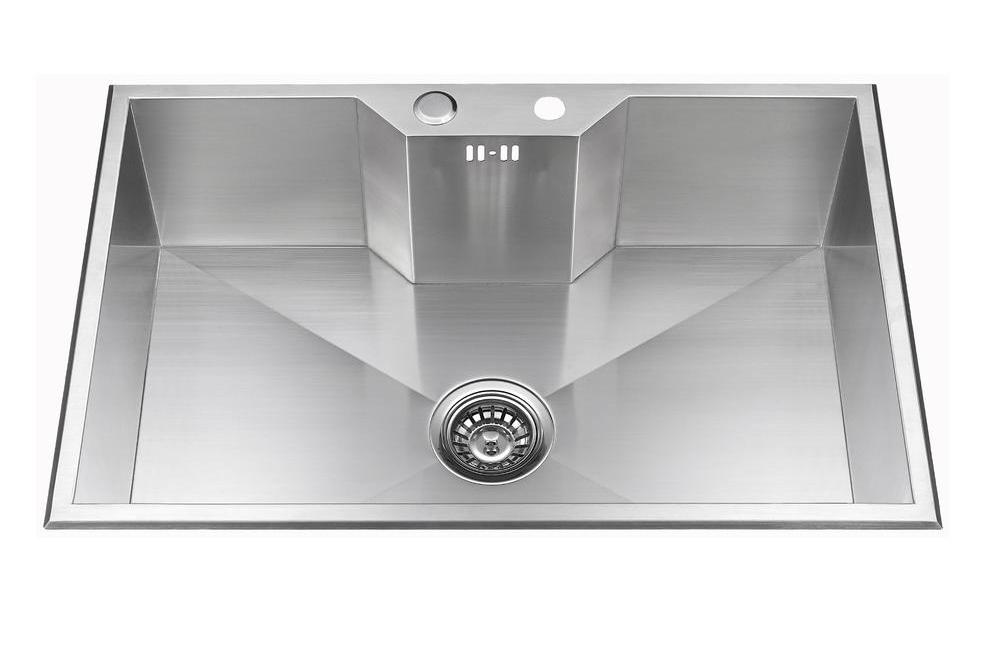
Choosing the right sink is crucial for a successful installation. The size, shape, and design of the sink should match your kitchen decor and fit properly in the allocated space. The 304 stainless steel sink is a popular choice due to its durability and resistance to corrosion.
Before installing the sink, you need to prepare the countertop. If you're replacing an old sink, remove it first. Then measure and mark the area where the new sink will be installed. Cut the countertop according to the dimensions of the new sink using a jigsaw or hole saw.
The most important step in the installation of a stainless steel kitchen sink is to first find the exact and suitable installation area for placing the sink, which can well avoid buying the wrong size because of wrong data. In addition, after placing the sink, do not shake the sink, because this will cause cracks which will lead to it loosening and affect the use performance.
After choosing a fixed location, you can carry out the second step of the kitchen sink installation, which is to install the water inlet equipment. It should be noted that it is necessary to ensure that the faucet and pipeline connection are accurate, otherwise, there will be many difficult problems in the future.
This step is a link that is prone to detail problems during the installation of the kitchen sink. Most people tend to forget to place some matching objects in the middle of the countertop and wall during installation, thus triggering the water leakage phenomenon. While placing appropriate objects, you should also observe and check the water-sealing performance of the sink.
After placing the sink into the cut-out area, apply a bead of silicone sealant around the edge of the sink to create a watertight seal between the sink and the countertop. This step is crucial to prevent water from seeping under the sink and causing damage.
Overflow holes and filters are two critical factors that affect the life of a sink. Correct installation of overflow holes and filters can make the sinking life more durable and perfect.
Generally speaking, only after the sink has been delivered can the installer cut the corresponding counter top concerning the specific sink dimensions, and only after the sink has been placed will the installation of the matching pendant take place.
Realign the drain and connect it to the new custom stainless steel sink. At this point, if you have a garbage disposal or dishwasher, you will need to reconnect the drains for these appliances.
The final step in sink installation is to perform a drainage test. It is as simple as turning the faucet on, letting the water fill the sink up to about two-thirds, and checking if there are any leaks in the faucet, water supply pipe, drain pipe, and drain filter. If so, you can ask workers to repair it immediately. If there are no leaks, turn off the water and clean up tools and any other debris.
For instance, although this type of sink is resistant to rust and corrosion, it's advisable to avoid using harsh cleaning agents that could damage its surface. Regularly cleaning the sink with a mild detergent and soft cloth can keep it looking new for years.
Always remember to take safety precautions when installing a sink. Turn off the water supply before starting the installation, wear protective gloves when handling sharp tools, and follow the manufacturer's instructions carefully.
The sink is the most frequently used in the kitchen, and a kitchen sink is a kitchen appliance that every family must have. To use the sink later will not appear to some bad things, the installation of the kitchen sink must be careful.
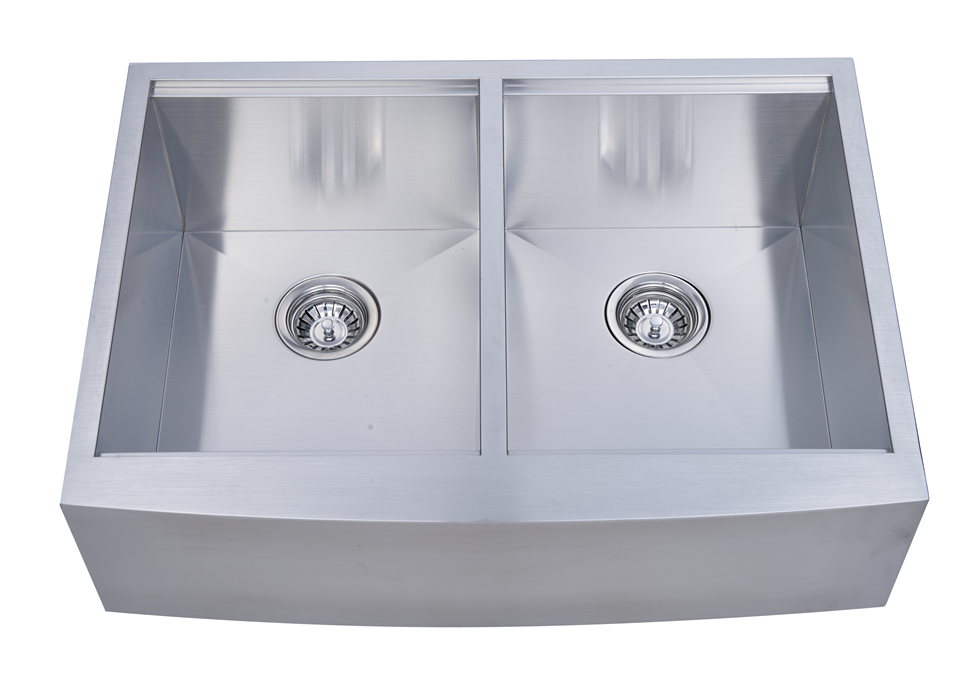
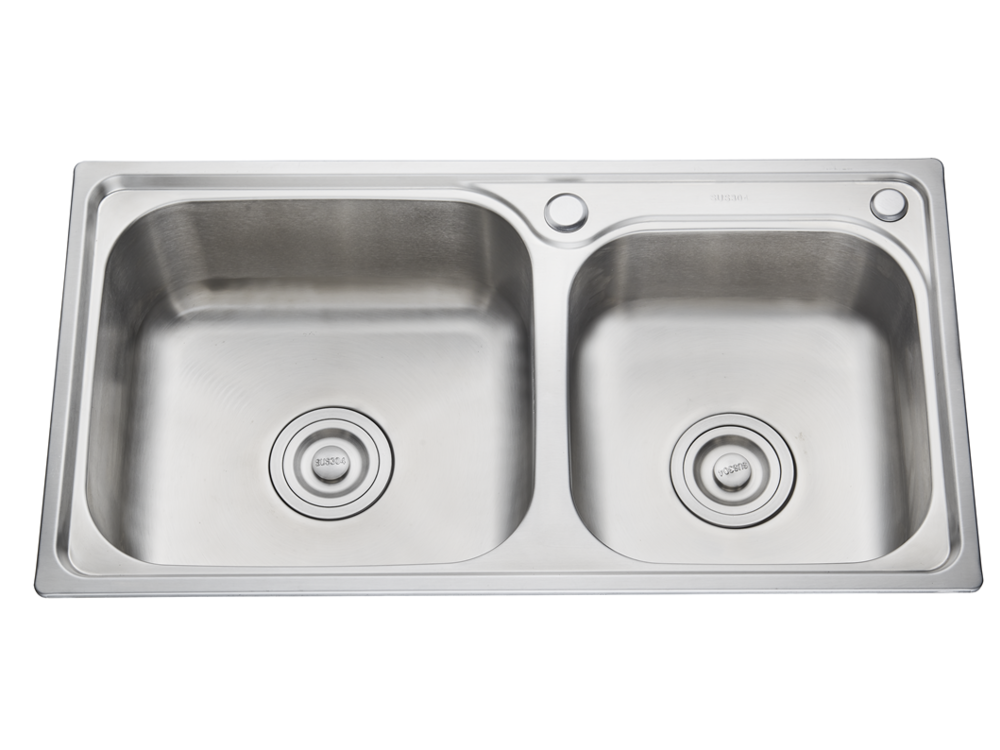
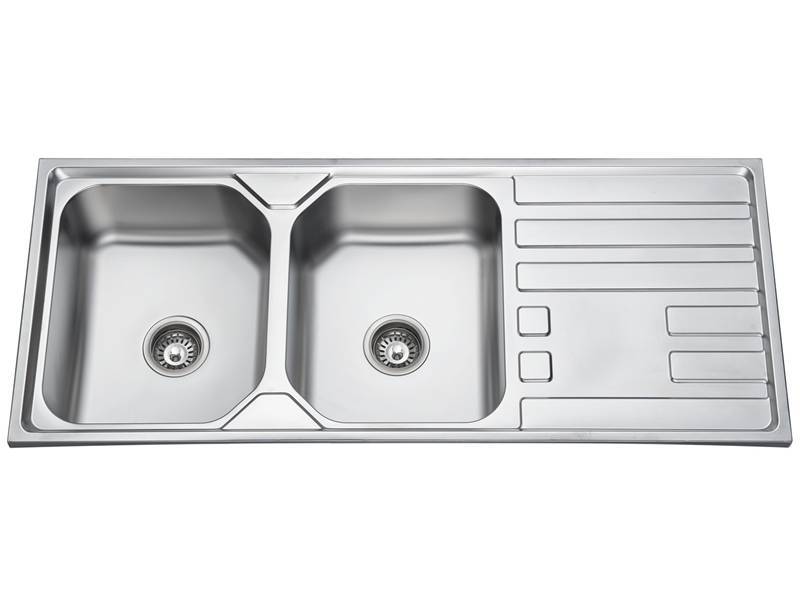
There are many types of sinks, such as large single kitchen sinks, handmade sink double bowls, etc. Whether installing a kitchen sink is complicated depends on the current setup of the sink.
Determine if you have an above-counter sink, built-in, or under-counter sink if you need to replace the plumbing, and if other circumstances may complicate the project. If you are unsure if you can install the sink yourself, hiring a professional to do the job for you is the best option.
The replacement process is relatively simple; learn the steps to install a sink and learn how to install a kitchen sink using the right tools and supplies.
Tools and Materials Needed
Before starting the installation process, ensure you have all the necessary tools and materials. These may include a jigsaw or hole saw for cutting the countertop, plumber's putty, sealant, wrenches, screwdrivers, and a level.
Sink Selection
Choosing the right sink is crucial for a successful installation. The size, shape, and design of the sink should match your kitchen decor and fit properly in the allocated space. The 304 stainless steel sink is a popular choice due to its durability and resistance to corrosion.
Preparing the Countertop
Before installing the sink, you need to prepare the countertop. If you're replacing an old sink, remove it first. Then measure and mark the area where the new sink will be installed. Cut the countertop according to the dimensions of the new sink using a jigsaw or hole saw.
Fixed Position
The most important step in the installation of a stainless steel kitchen sink is to first find the exact and suitable installation area for placing the sink, which can well avoid buying the wrong size because of wrong data. In addition, after placing the sink, do not shake the sink, because this will cause cracks which will lead to it loosening and affect the use performance.
Installation of Faucet and Inlet Pipe
After choosing a fixed location, you can carry out the second step of the kitchen sink installation, which is to install the water inlet equipment. It should be noted that it is necessary to ensure that the faucet and pipeline connection are accurate, otherwise, there will be many difficult problems in the future.
Installing the Sink to the Countertop
This step is a link that is prone to detail problems during the installation of the kitchen sink. Most people tend to forget to place some matching objects in the middle of the countertop and wall during installation, thus triggering the water leakage phenomenon. While placing appropriate objects, you should also observe and check the water-sealing performance of the sink.
Sealing the Sink
After placing the sink into the cut-out area, apply a bead of silicone sealant around the edge of the sink to create a watertight seal between the sink and the countertop. This step is crucial to prevent water from seeping under the sink and causing damage.
Installation of Overflow Holes and Strainers
Overflow holes and filters are two critical factors that affect the life of a sink. Correct installation of overflow holes and filters can make the sinking life more durable and perfect.
Installation of the Accessory Pendant
Generally speaking, only after the sink has been delivered can the installer cut the corresponding counter top concerning the specific sink dimensions, and only after the sink has been placed will the installation of the matching pendant take place.
Reconnecting Drains and Other Equipment
Realign the drain and connect it to the new custom stainless steel sink. At this point, if you have a garbage disposal or dishwasher, you will need to reconnect the drains for these appliances.
Drainage Test
The final step in sink installation is to perform a drainage test. It is as simple as turning the faucet on, letting the water fill the sink up to about two-thirds, and checking if there are any leaks in the faucet, water supply pipe, drain pipe, and drain filter. If so, you can ask workers to repair it immediately. If there are no leaks, turn off the water and clean up tools and any other debris.
Maintenance Tips
For instance, although this type of sink is resistant to rust and corrosion, it's advisable to avoid using harsh cleaning agents that could damage its surface. Regularly cleaning the sink with a mild detergent and soft cloth can keep it looking new for years.
Safety Precautions
Always remember to take safety precautions when installing a sink. Turn off the water supply before starting the installation, wear protective gloves when handling sharp tools, and follow the manufacturer's instructions carefully.
Conclusion
The sink is the most frequently used in the kitchen, and a kitchen sink is a kitchen appliance that every family must have. To use the sink later will not appear to some bad things, the installation of the kitchen sink must be careful.
There are many types of sinks, such as large single kitchen sinks, handmade sink double bowls, etc. Whether installing a kitchen sink is complicated depends on the current setup of the sink.
Determine if you have an above-counter sink, built-in, or under-counter sink if you need to replace the plumbing, and if other circumstances may complicate the project. If you are unsure if you can install the sink yourself, hiring a professional to do the job for you is the best option.


